
Why Your Laptop Is Your Gateway to the Creator Economy
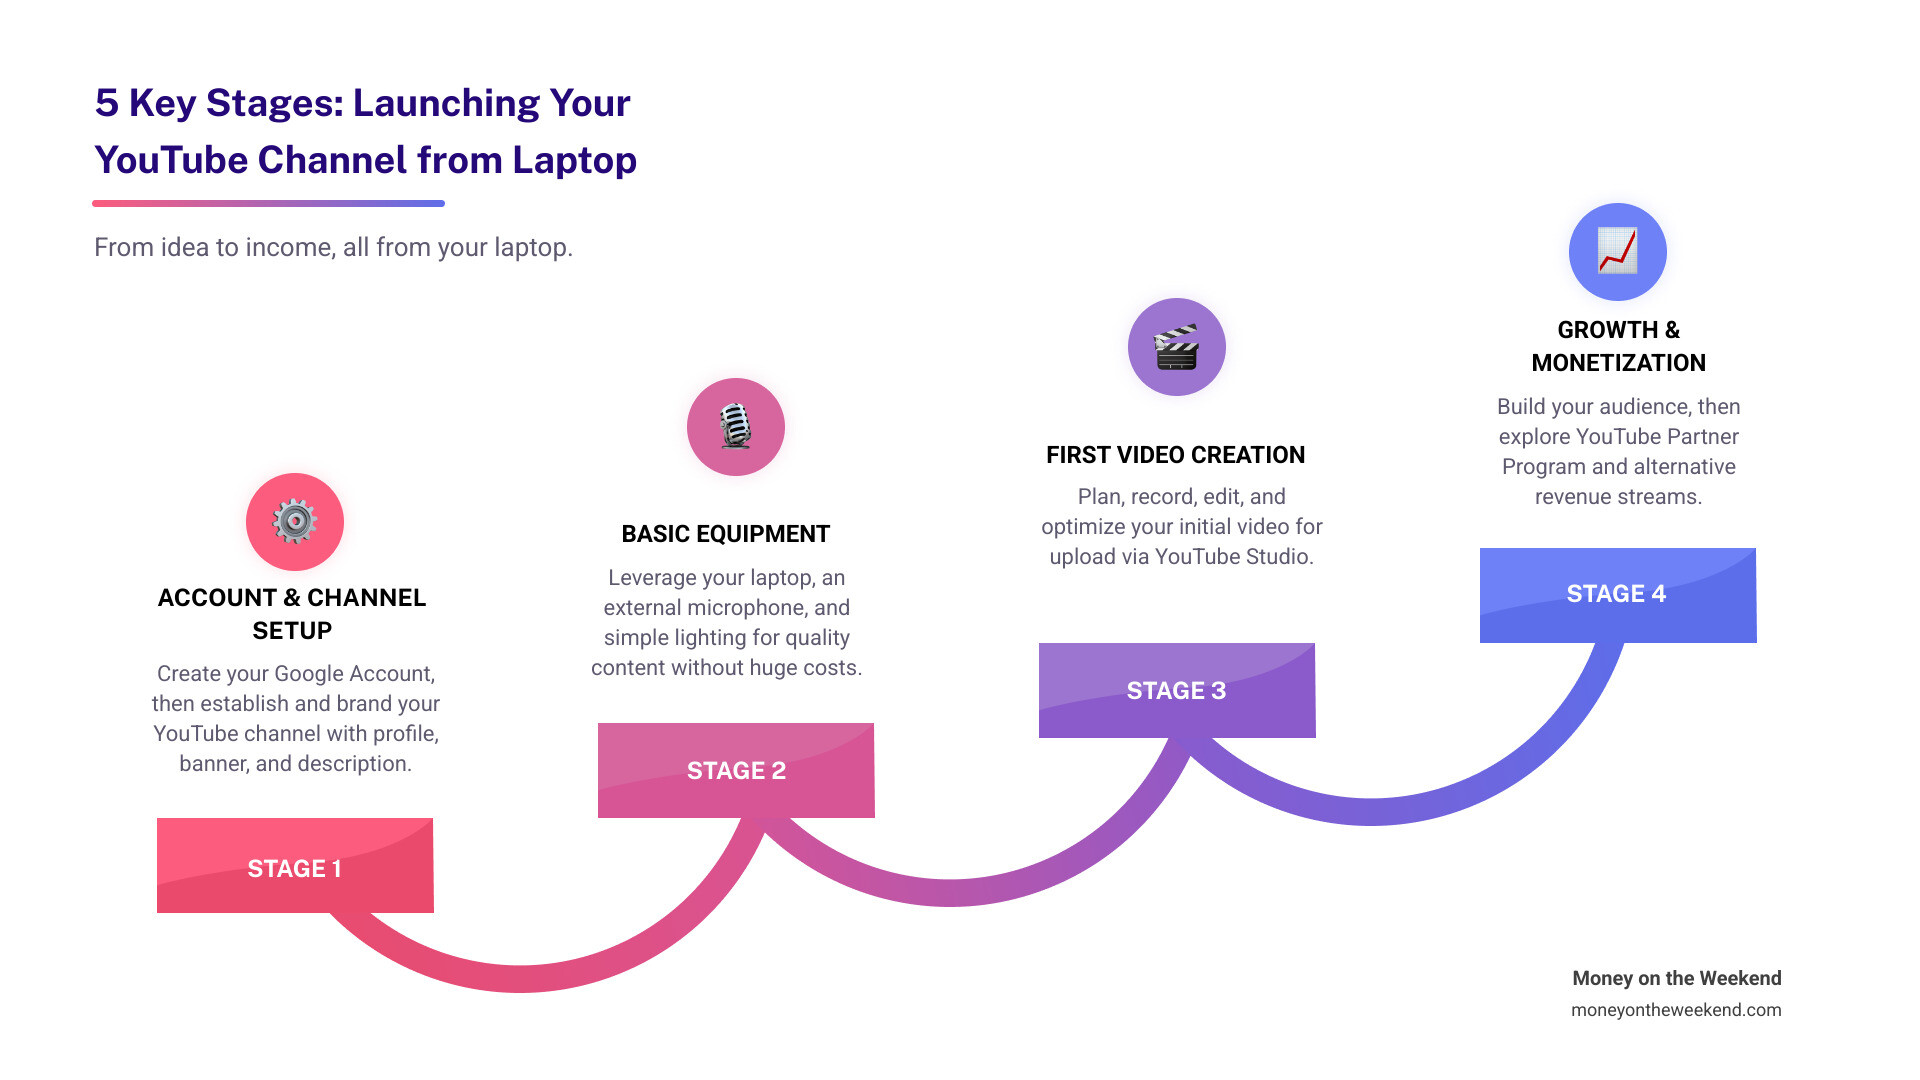
Learning how to create youtube channel in laptop is simpler than you think. You don’t need a film studio or expensive equipment—just your laptop and an internet connection. Here’s a quick overview of the steps:
- Create a Google Account (or use an existing one)
- Sign in to YouTube and click “Create a channel”
- Choose your channel name and upload a profile picture
- Customize your branding with a banner image and description
- Verify your account to open up advanced features
- Upload your first video using YouTube Studio
With over a billion hours of content watched on YouTube daily, there’s a massive audience waiting. Many successful creators started exactly where you are: with a laptop and an idea.
The creator economy allows regular people to build audiences and earn income by sharing their expertise from home. Starting with your laptop means no waiting for studios or crews. You can begin immediately with your knowledge and a willingness to record.
This guide covers every step, from setup to monetization, focusing on what truly matters for beginners (hint: it’s not a fancy camera). Whether you want extra income, a personal brand, or to share a passion, your laptop is all you need to start today.
Step 1: Set Up Your Foundation with a Google Account
Before you can create a channel, you need a Google Account. It’s your digital passport to all of YouTube’s creator features, allowing you to upload videos, comment, and build a community.
Your Google Account also gives you access to Gmail, Google Drive for video storage, and Google Docs for scripts. It’s the essential first step on how to create youtube channel in laptop. For detailed guidance, Google offers a helpful resource on how to create an account on YouTube from your computer.
Creating Your Google Account
If you already have a Gmail address, you have a Google Account and can skip this step. If not, creating one is free and easy.
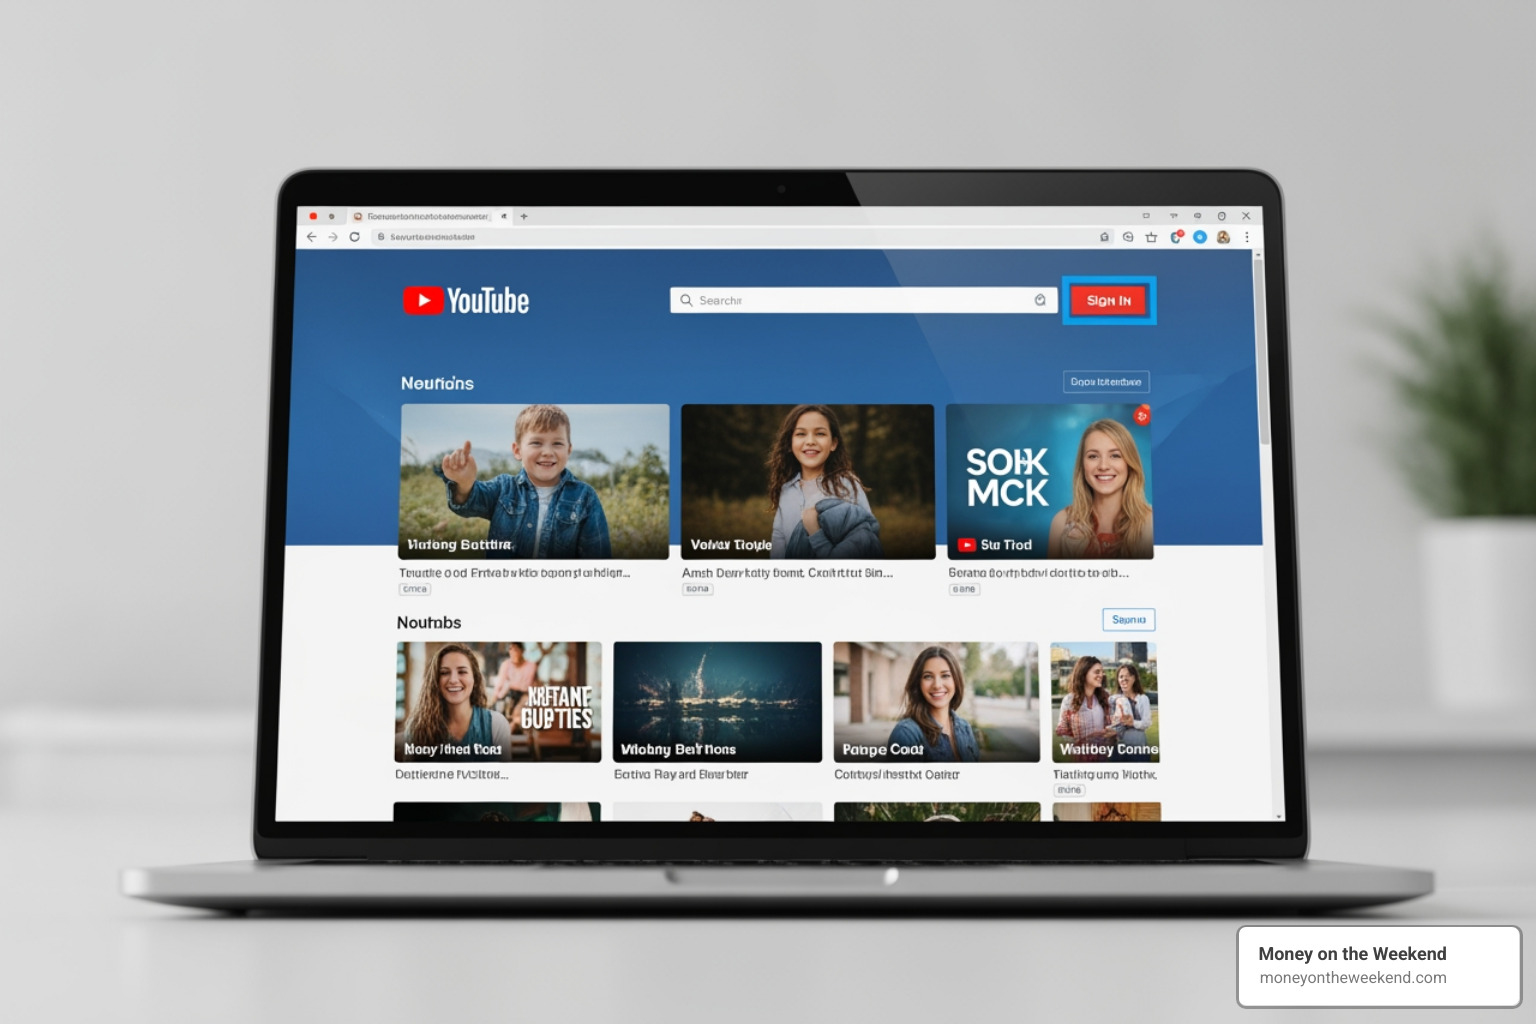
Head to YouTube.com, click “Sign in,” then “Create account.” Choose “For my personal use” (best for most individual creators) or “For work or my business” (the starting point for a Brand Account). Follow the on-screen steps, and you’re ready to sign into YouTube.
Choosing Your Channel Type: Personal vs. Brand
After signing in, you’ll choose between a personal or a Brand channel. Understanding the difference is key for future growth.
A Personal Channel is tied directly to your Google Account’s name and is managed only by you. It’s simple and great for personal vlogs or individual portfolios.
A Brand Account Channel can have a completely different name from your personal account (e.g., “Tech Reviews with AJ” instead of “Alex Johnson”). Its biggest advantage is that it can have multiple owners and managers. This is a game-changer for teams, businesses, or if you plan to manage several channels. Check out our guide on how to create multiple YouTube channels if you’re interested in that path.
We strongly recommend starting with a Brand Account for its flexibility. To create one, go to YouTube Settings, click “Add or manage your channel(s)” under the “Account” section, and then click “Create a new channel.”
Step 2: How to Create a YouTube Channel in a Laptop
With your Google Account ready, it’s time to officially create your YouTube channel in laptop. This step establishes your channel’s identity, and you’ll use YouTube Studio as your main control center.
The Initial Channel Creation Process on your laptop
Getting started is straightforward. Sign in to YouTube.com, click your profile picture in the top right, and select “Create a channel.”
YouTube will then prompt you for three key pieces of information:
- Upload a profile picture: Choose a clear, recognizable image that represents you. An 800 x 800 pixels image is a great size.
- Choose your channel name: Make it memorable, relevant to your content, and easy to spell.
- Select a unique YouTube Handle: This is your channel’s unique identifier, like
@yourchannelname, which helps people find you.
After filling these in, click “Create channel,” and your YouTube channel is officially live.
Customizing Your Channel’s Branding and Layout
Now, let’s make your channel look professional and inviting. To get started, click your profile picture on YouTube.com and select “YouTube Studio.” In the left-side menu, click on “Customization.”
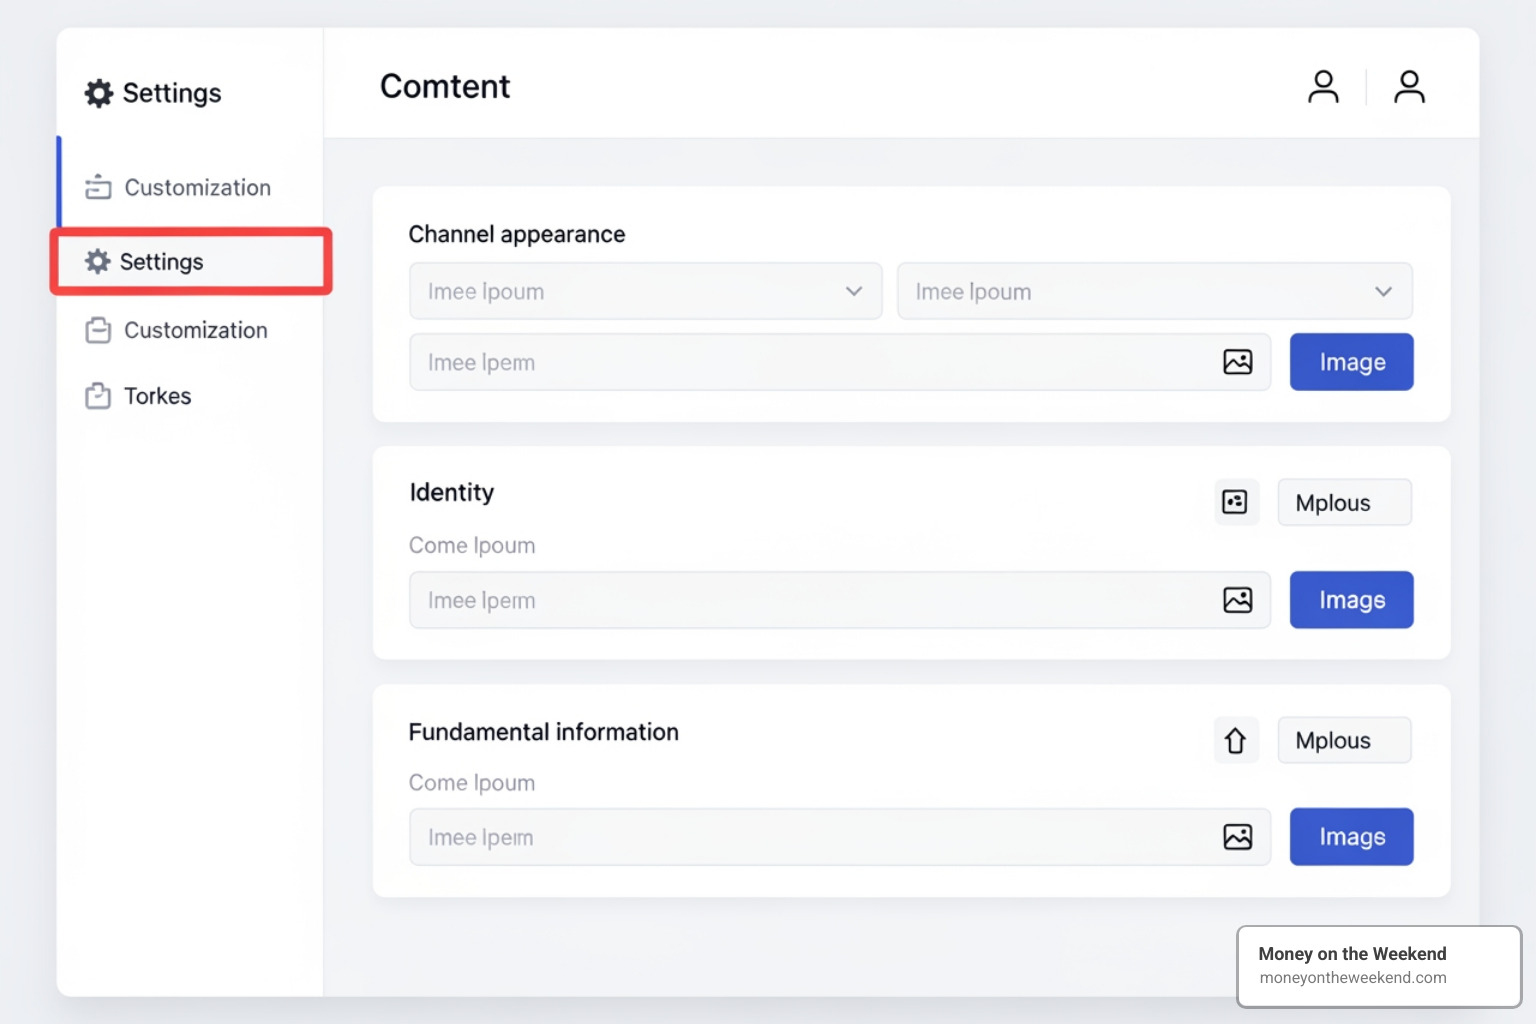
Here’s what to customize:
- Branding:
- Profile Picture: You can update your picture here (800 x 800 pixels recommended).
- Banner Image: This is the large graphic at the top of your channel. Use dimensions of at least 2560 x 1440 pixels (max file size 6MB) for the best look on all devices. If you need help, there are many online templates available.
- Video Watermark: A small logo or image that appears in the corner of your videos to encourage subscriptions.
- Layout:
- Channel Trailer: A short video that auto-plays for non-subscribers, explaining what your channel is about.
- Featured Video for Returning Subscribers: A special highlight for your loyal audience.
- Sections: Organize your videos into logical categories like “Popular Uploads” or specific playlists.
How to create a youtube channel in laptop with an optimized description
Your channel description is a powerful SEO tool that helps people find and connect with your content. To edit it, go to YouTube Studio > Customization > Basic info.
Here’s how to write an effective description:
- Be Clear and Concise: Start with a sentence that immediately explains your channel’s purpose and the value you provide.
- Include Keywords: Think about what people would search for to find your content. If you focus on financial freedom, use terms like “passive income,” “online business,” or “investing for beginners.” Brainstorming YouTube Channel Ideas can help with this.
- Set Expectations: Let viewers know your upload schedule (e.g., “New videos every Tuesday!”).
- Add a Call to Action: Encourage viewers to subscribe or check out your website.
- Contact Information: Include an email for business inquiries.
A well-written description helps YouTube’s algorithm understand your channel and recommend it to the right audience.
Step 3: Equipping Yourself for Quality Content
With your channel set up, it’s time to create videos. You don’t need expensive gear; your laptop is a powerful starting point for learning how to create youtube channel in laptop.
Starting your YouTube journey shouldn’t be expensive. While your laptop’s webcam is a fine starting point, clear audio is non-negotiable. Viewers will forgive imperfect video, but not bad sound.
Basic Equipment Recommendations for Laptop Creators
Keep costs low with this essential gear, especially when considering how much it costs to start a YouTube channel.
- Your Laptop’s Built-in Webcam: It’s perfectly capable for your first videos. Frame yourself well (head and shoulders) and look directly at the lens.
- External USB Microphone: This is the most important upgrade. It provides crisp, professional audio by cutting out distracting background noise.
- Lighting: Good lighting makes a huge difference. Natural Light is your best and cheapest option—just face a window. If that’s not available, an inexpensive Ring Light provides flattering, shadow-free light.
- Tripod or Stand (Optional but Recommended): Use a stack of books or a small tripod to position your laptop’s webcam at eye level. This creates a more professional and engaging camera angle.
Setting Up a Simple Home Recording Studio
You don’t need a dedicated room to create a great recording space.
- Choose a Quiet Space: Find the quietest spot in your house. A bedroom or even a walk-in closet works well, as soft items absorb sound.
- Managing Acoustics: To reduce echo in empty rooms, use soft furnishings like carpets, curtains, or pillows to absorb sound.
- Simple Lighting Techniques:
- Direct Light: Place your main light source (a lamp or ring light) in front of you to eliminate shadows.
- Avoid Backlighting: Never sit with a bright window or lamp directly behind you, as it will turn you into a dark silhouette.
- Designing a Clean Background:
- Declutter: A simple, clean background looks professional. A plain wall or a neat bookshelf is a great choice.
- Personalize (Subtly): Add a few non-distracting items that hint at your channel’s topic.
By focusing on these basics, you can create a professional-looking video from the comfort of your home. For more tips, check out these helpful resources from YouTube Creators.
Step 4: From Recording to Uploading Your First Video
Now for the most exciting part of learning how to create youtube channel in laptop: making your first video. The goal isn’t perfection; it’s to get started, learn from the experience, and improve with each upload.
Planning and Recording Your First Video
A little planning makes the content creation process much smoother and less stressful.
- Script a Hook: Grab the viewer’s attention in the first few seconds by telling them what value they’ll get from the video.
- Structure Your Content: Outline your main points (intro, body, conclusion) to keep your video logical and on track.
- Write Conversationally: Keep your language natural and read your script aloud to catch any awkward phrasing.
- Include a Call to Action (CTA): Tell viewers what you want them to do next, whether it’s subscribing, liking the video, or visiting a link.
Before you record, do a quick 30-second test run to check your lighting, audio, and framing. When you’re ready, relax and pretend you’re talking to a friend. Look directly at your webcam, not your screen, to create eye contact with your audience. Don’t worry about getting it perfect in one take; you can always edit segments together later.
Editing and Optimizing Your Video for Upload
After recording, basic editing can dramatically improve your video’s quality.
- Cut and Trim: Remove mistakes, awkward pauses, and any footage that doesn’t add value. This keeps your video concise and engaging.
- Add B-roll and Text: Use relevant images, short video clips, or simple on-screen text to illustrate your points and highlight key information.
- Use Simple Transitions: A simple cut works best most of the time. Save fancy transitions for special moments.
- Add Background Music: Use royalty-free music from YouTube’s Audio Library to set the mood. Keep the volume low so it doesn’t compete with your voice.
Understanding how long it takes to edit a YouTube video can help you manage your time effectively.
Once your video is exported (MP4 format is best), upload it using YouTube Studio. While it uploads, optimize it for success:
- Title: Create an SEO-friendly, attention-grabbing title (around 60-70 characters) that includes your main keywords.
- Description: Write a detailed description with keywords, timestamps for different sections, and links to any resources you mentioned.
- Tags: Add relevant tags, including related search terms and common misspellings of your topic.
- Custom Thumbnail: This is often the first thing viewers see. Create a visually appealing thumbnail (1280 x 720 pixels) with bold text and clear images.
Finally, set your audience type and choose your visibility setting: “Public,” “Unlisted,” “Private,” or “Schedule” it for a future release. Proper optimization helps your video get finded by the right audience.
Step 5: Growing and Monetizing Your Channel
Congratulations on learning how to create youtube channel in laptop and uploading your first video! The next step is growing your audience and exploring monetization, primarily through the YouTube Partner Program (YPP) and other income streams.
Joining the YouTube Partner Program (YPP)
The YPP is the main way to earn money directly from YouTube through ads, Super Chat, and Channel Memberships. To apply for the YouTube Partner Program, you must meet these eligibility requirements:
- 1,000 Subscribers
- AND one of the following within the last year:
- 4,000 valid public watch hours on your long-form videos.
- 10 million valid public Shorts views within the last 90 days.
- Adherence to all of YouTube’s Community Guidelines and monetization policies.
- A linked Google AdSense account for payments.
Once you meet the criteria, you can apply in the “Earn” section of YouTube Studio. The review process typically takes about a month.
Alternative Monetization Strategies Beyond Ads
Don’t rely solely on ad revenue. Successful creators diversify their income, a key principle for achieving financial freedom. Here are some powerful strategies you can explore:
- Affiliate Marketing: Promote products you love and earn a commission when viewers make a purchase through your unique link. It’s a great way to earn passive income on YouTube.
- Brand Sponsorships and Integrations: As your channel grows, brands may pay you for dedicated videos or product features. Always partner with brands that align with your content and audience values.
- Selling Your Own Products or Services: Create and sell digital products like e-books or courses, physical merchandise like t-shirts, or offer services such as coaching and consulting.
- Channel Memberships: Allow your most dedicated fans to pay a monthly fee in exchange for exclusive perks like special badges or members-only content.
- Direct Donations: Use features like YouTube’s Super Thanks or platforms like Patreon to allow fans to support your work directly.
By combining these different income strategies, you can build a more stable and sustainable business model around your channel.
Frequently Asked Questions about Creating a YouTube Channel
Starting a new venture can bring up questions. Here are answers to some of the most common ones about launching a YouTube channel from your laptop.
How much does it cost to start a YouTube channel?
The best part about learning how to create youtube channel in laptop is that it’s absolutely free. Setting up your account, uploading videos, and applying for the YouTube Partner Program costs nothing. Your main initial investment is your time and creativity. While you can choose to buy optional equipment like an external microphone later, your laptop is genuinely all you need to start.
What’s the difference between a Personal and a Brand YouTube channel?
This choice boils down to management and flexibility:
-
A Personal Channel is directly tied to your personal Google Account. It uses your Google Account name, and you are the sole manager. It’s a simple option for individual creators building a personal brand.
-
A Brand Channel is linked to a Google Brand Account. This allows your channel to have a different name and, most importantly, can have multiple owners and managers. This is invaluable for collaborations, businesses, or managing several channels. For most creators focused on growth, we recommend starting with a Brand Account for its future flexibility.
How do I verify my YouTube account to open up more features?
Verifying your YouTube channel is a quick, crucial step that open ups a new set of powerful features.
-
Why Verify? Verification is essential. It allows you to use custom thumbnails, upload videos longer than 15 minutes, live stream, and appeal Content ID claims.
-
How to Verify: The process is straightforward:
- Go to YouTube Studio.
- In the left-hand menu, click on “Settings”.
- Click “Channel,” then select “Feature eligibility”.
- Follow the prompts to verify your phone number. YouTube will send you a verification code via text or a voice call. Enter the code to complete the process.
This simple step is a non-negotiable for any new creator serious about building a successful channel.
Conclusion
We’ve covered everything you need to know about how to create youtube channel in laptop, from setting up your account and branding your channel to recording your first video and planning for monetization.
The biggest hurdle for any new creator is simply getting started. Your laptop is your portal to the creator economy. You don’t need a fancy studio—just an idea, a willingness to learn, and the courage to press record. Start with what you have, and you’ll improve with each video.
Here at Money on the Weekend, our mission is to empower you to find financial freedom through online income. A YouTube channel can be an incredible way to turn your passion and knowledge into a tangible income stream.
So, what are you waiting for? The world is ready for your ideas and stories. Take that first step, press record, and begin your amazing creator journey today! To keep learning, we invite you to explore more on becoming a YouTube creator.