
Why Creating a YouTube Channel on Your PC is Your First Step to Online Income
Learning how to create youtube channel in pc is simple and completely free. Here’s the quick answer:
Quick Steps to Create a YouTube Channel on PC:
- Sign in to YouTube with your Google Account.
- Click your profile picture in the top right.
- Select “Create a channel” from the menu.
- Choose your channel type (personal or brand).
- Add your channel name and handle (@username).
- Upload a profile picture and click “Create channel.”
Your channel is now live. This matters because over two billion people use YouTube every month. They aren’t just watching cat videos; they’re learning new skills, solving problems, and spending money.
YouTube is a legitimate path to earning extra income, whether you want to make a few hundred dollars a month or build a full-time business. You can do it all from your PC in your spare time.
This guide covers every step, from account setup and channel customization to uploading your first video and planning for growth. You don’t need expensive equipment or technical expertise—just a Google Account and a willingness to create.
Let’s turn your computer into a broadcasting studio.
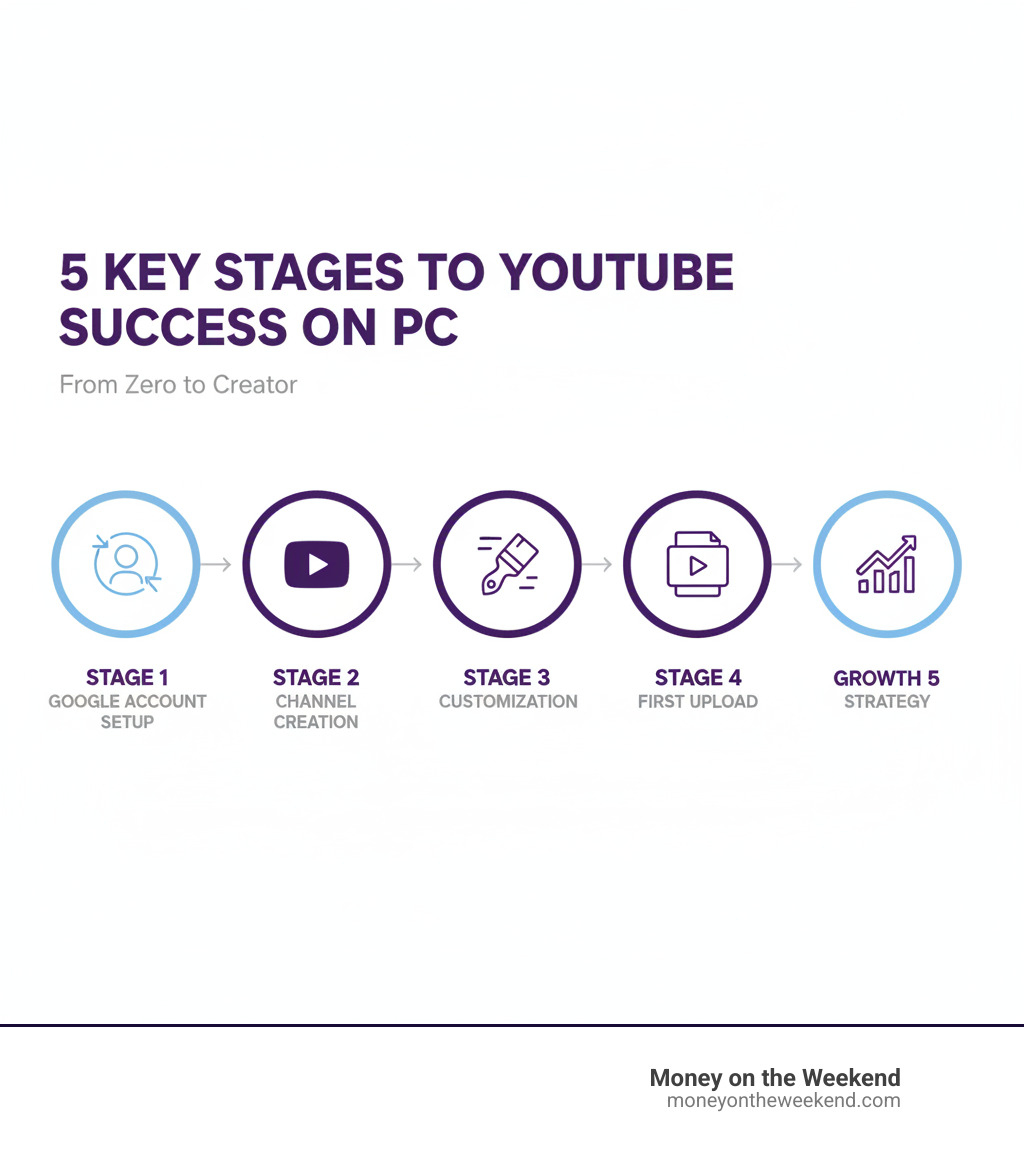
Getting Started: The Only Prerequisite You Need
To create a YouTube channel on your PC, you only need one thing you might already have: a Google Account.
Your Google Account is your passport to all Google services, including YouTube. If you use Gmail or Google Drive, you’re ready to go. This single account allows you to watch, comment, subscribe, and, most importantly, create your own channel to start uploading content.
Don’t have a Google Account yet? No problem. Setting one up takes about three minutes. Head over to Create an account on YouTube – Computer and follow the prompts. You’ll provide your name, choose an email address, and create a password.
Before you start, consider if this channel is for personal use or for a business. If you plan to build a channel around making money, consider creating a separate Google Account for your YouTube business. This keeps your personal and professional activities separate, which is cleaner, more secure, and easier to manage as your channel grows.
Once your Google Account is sorted, you’re ready to create your channel.
How to Create a YouTube Channel in PC: A Step-by-Step Guide
With your Google Account ready, it’s time to create your YouTube channel on your PC. This is where you transition from viewer to creator, with your own platform to share ideas, build an audience, and potentially earn income.
Think of your channel as a digital storefront. It allows you to upload videos, respond to comments, and build a community around your content. Whether you plan to share cooking tutorials or document your side hustle, everything starts here.
Learning how to create youtube channel in pc is simple. We’ll walk you through two paths: creating a personal channel (perfect for getting started) and setting up a Brand Account (ideal for businesses or if you want a separate professional presence).
Let’s dive in.
Creating Your First Channel: How to Create a YouTube Channel in PC
Your first channel will likely be a personal one, directly connected to your Google Account name. This is the quickest way to get started and is perfect for most beginners.
First, go to YouTube.com on your PC and make sure you’re signed in with the Google Account you’ll use for your channel.
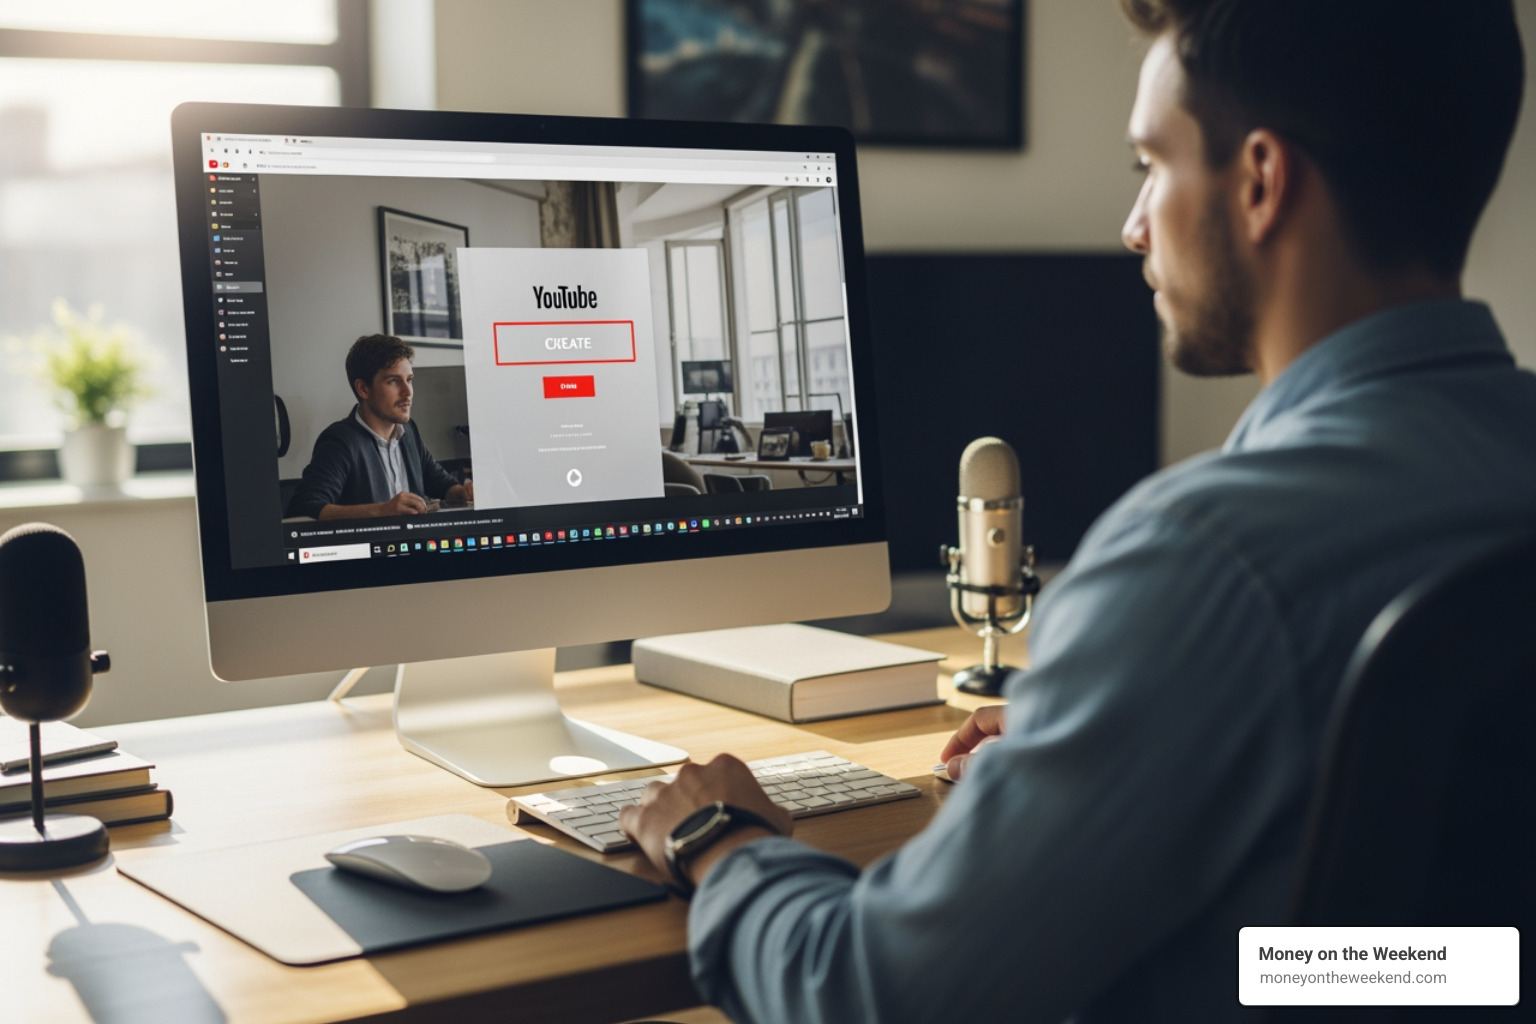
In the top-right corner of the homepage, click your profile picture to open a dropdown menu. From that menu, select “Create a channel.” YouTube will then guide you through a few quick steps.
YouTube will suggest using your existing Google Account name for a personal channel. You’ll also need to pick a Handle—your unique @username that people can use to find and tag your channel. Think of it as your channel’s address.
Next, upload a profile picture. It doesn’t need to be fancy, but it should be clear and represent you or your content. A simple headshot works wonders for building trust with your future audience.
Once you’ve entered your information, click “Create channel.” Your personal YouTube channel is now live and ready for content.
Setting Up a Brand Account for Your Business or Side Hustle
If you’re launching a side hustle, starting a business, or planning to collaborate, a Brand Account is the way to go. It provides more flexibility and keeps your professional YouTube presence separate from your personal Google Account.
With a Brand Account, you can use a different name than your personal one (e.g., “Weekend Woodworking” instead of “John Smith”). Even better, a Brand Account allows multiple managers, so you can add team members or collaborators without sharing your personal login credentials. This is incredibly valuable for security and management as your channel grows.
To set up a Brand Account, sign in to YouTube.com. Click your profile picture in the top-right corner, then go to “Settings.” In the Account section, find “Add or manage channel(s)” or go directly to your channel list.
On this page, click “Create a new channel.” YouTube will ask you to name it. This is where you enter your business or brand name. Choose something memorable and relevant to your content. For inspiration, check out our guide on YouTube Channel Ideas.
Just like with a personal channel, you’ll choose a unique handle and upload a profile picture that represents your brand, such as your logo.
Click “Create,” and your Brand Account channel is live.
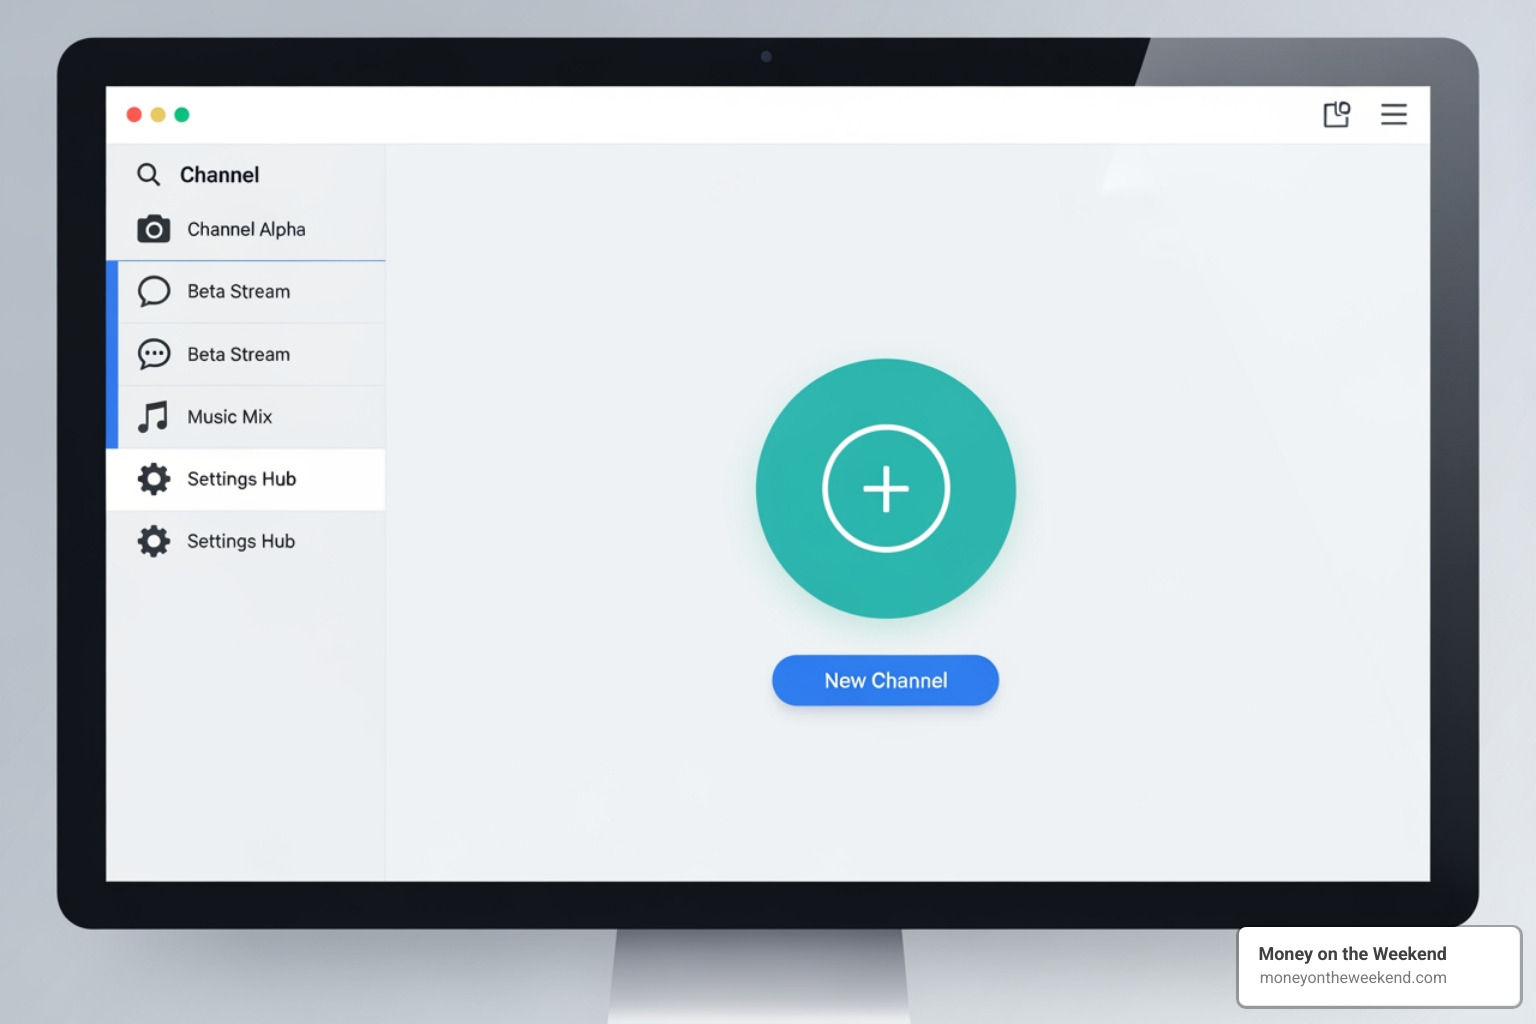
The power of a Brand Account becomes clear as you grow. You can add managers and maintain a professional identity completely separate from your personal online life. It’s the smart choice for anyone serious about building a business on YouTube.
Designing Your Channel: Customization Essentials
You’ve officially learned how to create youtube channel in pc—that’s a big step! But here’s the thing: a blank channel won’t attract many viewers. Think of your channel like a storefront on a busy street. You could leave it with bare walls and hope people wander in, or you could design an inviting space that makes people want to stop and look around.
That’s exactly what customization does for your YouTube channel.
Head over to YouTube Studio and click on the “Customization” tab. This is where the magic happens. You’ll see three main areas: Layout, Branding, and Basic info. Together, these tools help you create a professional look that tells viewers exactly what your channel is about—often before they’ve even watched a single video.
Let’s make your channel impossible to ignore.
Essential Branding: Profile Picture and Banner Art
Your profile picture and banner art are the visual anchors of your entire channel. They’re what people see first, and first impressions matter—a lot.
Your profile picture is that small circular image that appears everywhere: next to your videos in search results, beside your comments, and on your channel homepage. It needs to work hard in a tiny space. YouTube recommends a minimum size of 98 x 98 pixels, but we suggest going higher resolution to keep it crisp. Choose something instantly recognizable. If you’re building a personal brand, a clear headshot works beautifully. For a business or side hustle, your logo is the way to go.
Now for the showstopper: your banner art (also called channel art). This is the wide, panoramic image stretching across the top of your channel page. It’s your billboard, your chance to communicate your channel’s vibe and purpose in one glance. The recommended dimensions are 2560 x 1440 pixels, but here’s where many creators stumble: not all of that space is visible on every device.
The “safe area”—the part guaranteed to show up on desktops, tablets, and phones—is only 1546 x 423 pixels in the center. Put your most important text, logos, or imagery there. We’ve seen too many channels with beautiful banners where half the text gets cut off on mobile. Don’t let that be you.
One more branding touch: the video watermark. This is a small custom image (usually your logo) that appears in the bottom-right corner of all your videos. You can set it to show up throughout the entire video, during the last 15 seconds, or at a custom time. It’s subtle, but it reinforces your brand and gives viewers a quick way to subscribe right from the video player.
Consistency across all these visual elements isn’t just about looking professional—it builds recognition. When viewers see your profile picture or banner anywhere on YouTube, they’ll know it’s you.
Crafting Your Identity: Name, Handle, and Description
Visuals grab attention, but words define your identity. Your channel name, handle, and description work together to tell people what you’re all about and help them find you in the first place.
Your channel name should be memorable and reflect your content. If you’re creating a personal channel, your own name or a creative variation works well. For a business or side hustle, use your company or brand name—it keeps everything aligned and professional. Stuck on ideas? Our guide on YouTube Channel Ideas can help spark some inspiration custom to different niches.
Next up is your handle—that unique @username that identifies you across YouTube. This is how people tag you in comments, find your channel quickly, and share your content. Pick something simple, easy to spell, and ideally similar to your channel name. Once you’ve got it, it becomes part of your brand identity.
Now for the often-overlooked powerhouse: your channel description. This lives in your “About” section, and it’s one of the best places to practice YouTube SEO. While you absolutely want to write something engaging that tells viewers what they’ll gain from subscribing, you also want to strategically weave in relevant keywords. If your channel focuses on building online income, you might naturally include phrases like “passive income strategies,” “freelance work tips,” or “side hustle ideas.” The key word here is naturally. You’re writing for humans first, search engines second. No keyword stuffing—just clear, valuable information about what makes your channel worth watching.
Don’t forget to add your social media links in the About section too. YouTube lets you include up to 14 clickable links to your other platforms—Instagram, Twitter, your website, wherever you’re building your online presence. This helps viewers connect with you beyond YouTube and strengthens your overall community. It’s all part of building that path to financial freedom through multiple channels, which is exactly what we’re all about here at Money on the Weekend.
Your Launchpad: Uploading Content and Planning for Growth
Now that your channel is looking fantastic, beautifully set up and branded, we’ve reached the really exciting part: creating and uploading your content! This is the moment your unique message reaches the world, and where your journey toward financial freedom through online income truly takes off.
A secret ingredient for success on YouTube is consistency. Think of it like showing up for a job — the more reliably you deliver, the more opportunities come your way. Channels that regularly release fresh content are more likely to be recommended by YouTube, helping you attract new subscribers and build that loyal following you dream of. But here’s the thing: consistency without a clear plan is like running on a treadmill; you’re moving, but not going anywhere new. That’s why we need a solid content strategy! This roadmap should clearly define who you’re talking to (your target audience), what exciting topics you’ll cover, and how often you’ll delight your viewers with new videos. And to make sure you’re always heading in the right direction, YouTube Analytics will become your trusty sidekick, offering insights into watch time, who’s watching, and how engaged they are.
Uploading and Optimizing Your First Video
Uploading your very first video is a huge milestone – congratulations! Let’s walk through getting your masterpiece onto your channel and making sure it’s optimized for everyone to find.
- Start the Upload: Look in the top-right corner of YouTube (or YouTube Studio) for the “Create” button (it often looks like a camera icon with a plus sign). Give it a click, then select “Upload video.”
- Select Your File: You can simply drag and drop your video file right into the upload area, or click to browse and select it from your PC. While your video is busy uploading, you can get a head start on filling in all the important details.
- Craft a Compelling Title: Your title is like your video’s headline. Make it catchy, descriptive, and be sure to sprinkle in relevant keywords. This helps people find your video when they’re searching.
- Write a Detailed Description: This isn’t just a quick summary! It’s another fantastic opportunity for YouTube SEO and to offer extra value to your viewers. Include those important keywords, give a brief overview of what your video covers, and for longer videos, even add helpful timestamps.
- Add Relevant Tags: Tags are like little labels that help YouTube understand what your video is all about. Choose keywords and phrases that accurately describe your content and its context – pick them wisely!
- Design a Custom Thumbnail: This is arguably the most critical element for grabbing clicks! Your thumbnail is the visual “advertisement” for your video. Use bright colors, clear images, and text that sparks curiosity. An eye-catching thumbnail often convinces viewers to click and watch.
- Set Audience and Visibility: You’ll need to tell YouTube if your video is “made for kids.” Then, choose your video’s visibility: Public (everyone can see it), Unlisted (only those with the link can see it), or Private (only you and specific people you invite can see it). Unlisted or private videos are great options for paid content, like courses or tutorials, before you decide to make them public.
- Add Subtitles: To reach the widest possible audience, including those with hearing impairments or who speak different languages, we highly recommend adding subtitles. YouTube provides easy-to-use tools for adding and managing subtitle tracks directly within your video settings after it’s uploaded.
- Include End Screens and Cards: These are interactive elements that can appear at the end of your video or during playback. Use them smartly to link to other videos, direct viewers to playlists, or encourage them to subscribe. They’re excellent for keeping viewers engaged with more of your content!
For even more in-depth guidance on creating compelling video content, be sure to explore our resources on Content Creation.
Strategies for Growth and Monetization
Once your fantastic content is live, the adventure shifts to growing your audience and, ultimately, to monetization. This is where your efforts to how to create youtube channel in pc start to truly pay off!
- Engaging with Your Audience: Your viewers are your community! Make it a habit to respond to comments, ask them questions in your videos, and even consider hosting live streams. This interaction builds a loyal following and keeps people coming back for more.
- Creating Playlists: Organize your videos into logical playlists. This not only makes your channel super easy to steer but also encourages viewers to binge-watch more of your content, significantly increasing watch time – a key metric for YouTube’s algorithm.
- Promoting on Other Platforms: Don’t keep your brilliant content a secret! Share your videos far and wide on your social media channels, embed them on your website, and include them in your newsletters. You can even repurpose short, exciting snippets for YouTube Shorts, TikTok, or Instagram Reels to drive traffic back to your main videos.
- YouTube Partner Program (YPP): Every creator’s dream is to monetize their channel, and the main way to do this is through the YouTube Partner Program. Once you meet specific eligibility requirements (currently, 1,000 subscribers and 4,000 valid public watch hours in the past 12 months, or 10 million valid public Shorts views in 90 days), you can apply. Being part of YPP opens up various exciting income streams, including ad revenue (paid through Google AdSense), channel memberships, Super Chats, Super Stickers, and even YouTube Shopping. You can Learn about the YouTube Partner Program (YPP) for the very latest requirements and benefits.
Building a successful YouTube channel takes dedication, time, and consistent effort. But by regularly creating valuable content, genuinely engaging with your audience, and smartly optimizing your online presence, you’ll be well on your way to achieving financial freedom through your passion.
Curious about the investment? Find out How much does it cost to start a YouTube channel?
Frequently Asked Questions about Channel Creation
We know you might have a few lingering questions as you start on this exciting journey of creating your YouTube channel on a PC. That’s perfectly normal! Let’s clear up some common queries so you can move forward with confidence.
How much does it cost to start a YouTube channel?
Here’s some truly fantastic news for aspiring creators, especially those looking to build financial freedom with Money on the Weekend: starting a YouTube channel is absolutely free! That’s right, you don’t need to pay YouTube a single penny to create your account, upload your brilliant videos, or begin building your audience. The platform itself is a powerful, free tool at your fingertips.
However, while the entry point is free, producing high-quality content that truly stands out often involves a small initial investment in equipment. Think of it as investing in your future online income! Basic gear like a decent camera (your smartphone can actually work wonders when you’re just starting out!), a clear microphone to ensure your message is heard, and user-friendly editing software can significantly lift your video quality. We’ve seen estimates that the cost to start a YouTube channel with some essential equipment could be around $430, but remember, you can always begin with what you have and gradually upgrade as your channel grows and starts generating income. For a deeper dive into potential costs and smart ways to manage them, check out our guide on How much does it cost to start a YouTube channel?.
Can I create more than one YouTube channel?
Absolutely, yes! In fact, many successful creators and businesses find it incredibly beneficial to manage multiple YouTube channels. This is where the true power and flexibility of Brand Accounts really shine through, especially if you’re thinking about different side hustles or income streams. As we discussed earlier, a single Google Account can seamlessly manage several Brand Accounts, and each Brand Account can host its very own unique YouTube channel. Pretty neat, right?
This powerful feature allows you to:
- Segment your content: Imagine having separate channels for different niches or content types – perhaps one for your passive income strategies and another for your affiliate marketing reviews.
- Target different audiences: You can tailor your branding, voice, and messaging specifically for distinct groups of viewers, maximizing your reach and engagement.
- Expand your reach: By having multiple channels, you naturally grow your overall presence on the platform, potentially tapping into new communities and income opportunities.
To create these additional channels, simply head back to your “Add or manage channel(s)” page (you can usually find this by clicking your profile picture > Settings > Account). From there, you can easily set up new Brand Accounts and their associated channels. To learn even more about this process and how to master it, dive into our dedicated article: How to Create Multiple YouTube Channels.
What are the limitations for supervised accounts?
YouTube is deeply committed to providing a safe and healthy online environment for its younger users. This commitment includes specific restrictions when it comes to channel creation for supervised accounts. If a user is on YouTube with a supervised experience—which is often managed by parents through Google’s Family Link for children under 13—they typically cannot create their own YouTube channel.
These thoughtful limitations are put in place to ensure that parents maintain control over the content their children consume and to protect younger users from the complexities and responsibilities of managing a public online presence. Parents have the ability to set content settings and manage various other aspects of their child’s YouTube experience, but channel creation is generally restricted to uphold this supervised and safe environment. This is a crucial consideration for any families exploring YouTube together!
Conclusion
You’ve made it! From understanding the prerequisites to launching your first video, we’ve walked you through every essential step on how to create youtube channel in pc. It really is simpler than most people expect—starting with a Google Account, choosing between a personal or Brand Account, customizing your channel’s look, and uploading your first piece of content.
The beautiful thing about YouTube is that it transforms anyone with an idea and an internet connection into a potential creator. You’re not just consuming content anymore—you’re contributing to it. And with over two billion users watching videos every month, there’s an audience out there waiting for exactly what you have to offer.
We’ve seen countless people start exactly where you are right now: sitting at their computer, wondering if they can really do this. The answer is yes. Whether you’re looking to make a few hundred dollars a month on the side or building toward full-time content creation, YouTube offers a genuine path to financial freedom. It won’t happen overnight, but with consistency, engagement, and a willingness to learn as you go, it’s absolutely achievable.
At Money on the Weekend, we’re passionate about helping people like you find that freedom in your spare time. YouTube is just one of many avenues to generate online income, but it’s one of the most accessible and potentially rewarding. Your computer is your broadcasting studio, your creativity is your currency, and your spare time is your opportunity.
So take that first step. Create your channel, upload that first video, and start building something meaningful. The journey from viewer to creator starts right now.
Explore more YouTube strategies and tools to accelerate your path toward financial freedom.